| Most viewed - DBoyWheeler's Gallery |
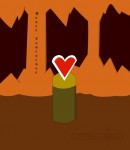
LoZ2--Heart_Container.jpgZelda 2 AoL Heart Container635 viewsHeart Container in Zelda 2: Adventure of Link, and it's kinda like Heart Containers in all Zelda Games.
Get it and your health increases. You'll need all the life you can get to survive the challenges ahead!
I tried to use a sprite or official artwork as a reference, but I think I eff'ed it up. Oh, well.DBoyWheeler
|
|
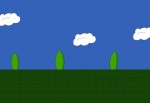
LoZ2_Plains.jpgZelda 2 AoL Plains619 viewsPlains from Zelda 2: Adventure of Link. I used a screen shot from a manual scan as a reference.DBoyWheeler
|
|
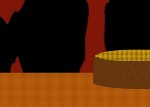
LoZ2_Cave.jpgZelda 2 AoL Cave615 viewsCave from Zelda 2: Adventure of Link. I used a manual screenshot as a reference, and added a little artistic license.DBoyWheeler
|
|
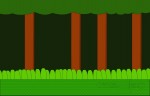
LoZ2_Forest.jpgZelda 2 AoL Forest612 viewsThe forests from Zelda 2: Adventure of Link. I used a screenshot from a manual scan as reference. Watch out for Moblins!DBoyWheeler
|
|
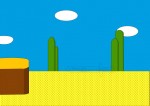
LoZ2_Desert.jpgZelda 2 AoL Desert610 viewsDesert scene from Zelda 2: Adventure of Link. Used a screenshot from a manual scan as the reference.DBoyWheeler
|
|
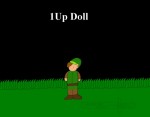
LoZ2--Doll.jpgZelda 2 AoL 1Up Doll584 viewsThe cute 1Up Doll from Zelda 2: Adventure of Link. Isn't it cute?
Weird how Zelda 2 is one of the few Zelda games (if not the ONLY one) that has extra lives. How bizarre, how bizarre.
Anyway, I used an official artwork as a reference.DBoyWheeler
|
|
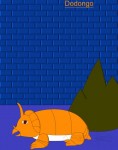
LoZ1--Dodongo.jpgLoZ1 Dodongo579 viewsThe dino rhino, Dodongo. Go and give him the ultimate case of indigestion!
I used both the game sprite AND the official art from the manual as references.DBoyWheeler
|
|
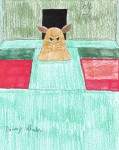
LoZ1--Pols_Voice.jpgLoZ1 Pols Voice569 viewsThe big eared ghost from Zelda 1.
I used the manual art as a reference. When I first drew this long ago, I wondered about the weakness... then found out we Westerners missed out on it since in Japan, the Famicom Disk System had a mike so you could shout at the Pols Voice and destroy them that way.DBoyWheeler
|
|
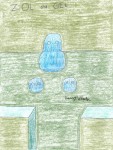
LoZ1--Zol_and_Gel.jpgLoZ1 Zol and Gel565 viewsThe blobs from Zelda 1.
Zol, and two Gels. I used the manual art as the reference, but because I was lazy, I simplified the slime covering to make them look like candies. :DDBoyWheeler
|
|
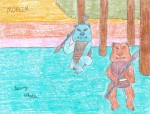
LoZ1--Moblins.jpgLoZ1 Moblins559 viewsThe bulldogs of doom, the Moblins, from Zelda 1.
Used the sprites as reference this time (as opposed to the manual art--he looked a bit robotic in the artwork), and drew two since there were two colors.DBoyWheeler
|
|
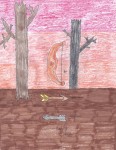
LoZ1--Bow_and_Arrows.jpgLoZ1 Bow and Arrows558 viewsThe bow and two arrows from Zelda 1.
I used the art from the manual as the reference for this.DBoyWheeler
|
|

LoZ1--Blue_Candle_and_Red_Candle.jpgLoZ1 Candles556 viewsThe two candles from the first Zelda game.
The official art in the manual was my reference here.DBoyWheeler
|
|
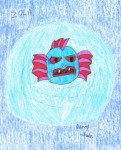
LoZ1--Zola.jpgLoZ1 Zola555 viewsThe darn Zola from Zelda 1. The manual art was used as a reference for this.DBoyWheeler
|
|
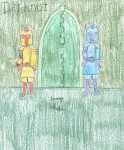
LoZ1--Darknut.jpgLoZ1 Darknut553 viewsThe underworld knights from Zelda 1, in two flavors (er, colors).
I used the manual art as a reference, and drew two Darknuts since there were two colors of them.DBoyWheeler
|
|
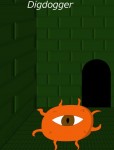
LoZ1--Digdogger.jpgLoZ1 Digdogger552 viewsThe giant urchin, Digdogger. Maybe it's in the middle of shrinking after hearing Link's whistle.
I used a mix of the main art in the manual, and the sprite, as reference here. And I had trouble getting the side wall to look right. Can't win 'em all, I suppose.DBoyWheeler
|
|
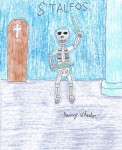
LoZ1--Stalfos.jpgLoZ1 Stalfos552 viewsYeah, it's hard to draw skeletons, and this was my first attempt at drawing skeletons.
Anyway, its a Stalfos from Zelda 1. I tried to use the manual art as reference, but again, this was my first attempt at skeletons, so I kinda messed it up bigtime.DBoyWheeler
|
|
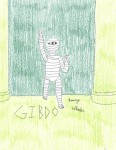
LoZ1--Gibdo.jpgLoZ1 Gibdo551 viewsGibdo the Mummy from Zelda 1.
I used the manual art (instead of the sprite) as reference, since the sprite made him look a wee bit chubby. He looks like he's disco dancing, huh?DBoyWheeler
|
|
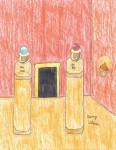
LoZ1--Blue_Ring_and_Red_Ring.jpgLoZ1 Rings548 viewsThe blue and red rings from Zelda 1.
I used the manual's artwork for reference.DBoyWheeler
|
|
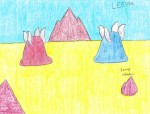
LoZ1--Leevers.jpgLoZ1 Leevers545 viewsThe two kinds of Leevers from Zelda 1.
I used the manual art as a reference, and drew two since there were two colors of Leever.DBoyWheeler
|
|
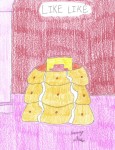
LoZ1--Like_Like.jpgLoZ1 Like Like544 viewsThe shield eating blob, Like Like, from Zelda 1.
I used the manual art as a reference... and since it likes to eat Magic Shields, I drew it enjoying a recent meal.DBoyWheeler
|
|
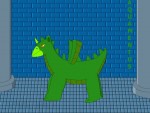
LoZ1--Aquamentus.jpgLoZ1 Aquamentus542 viewsThe unicorn dragon. As long as one has the correct sword and some other weapons, this dragon isn't too hard.
I used both some game sprites and the official manual art as reference.DBoyWheeler
|
|

LoZ1--Hearts.jpgLoZ1 Hearts542 viewsThe hearts of Zelda 1. Take a wild guess!
The manual art was my reference when drawing this.DBoyWheeler
|
|
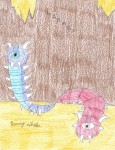
LoZ1--Lanmola.jpgLoZ1 Lanmola541 viewsThe centipede of doom from Zelda 1--in two colors!
I used the manual art as a reference... and drew it twice, since there are two colors of Lanmola.DBoyWheeler
|
|
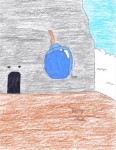
LoZ1--Bomb.jpgLoZ1 Bomb537 viewsThe bomb from Zelda 1. Which became more or less a staple in future Zelda games.
The official art in the manual was what I used as reference.DBoyWheeler
|
|
|
|
 Register