| Most viewed - Zelda 1 Stuff |
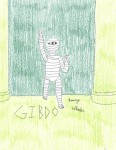
LoZ1--Gibdo.jpgLoZ1 Gibdo380 viewsGibdo the Mummy from Zelda 1.
I used the manual art (instead of the sprite) as reference, since the sprite made him look a wee bit chubby. He looks like he's disco dancing, huh?DBoyWheeler
|
|
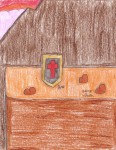
LoZ1--Shield.jpgLoZ1 Shield377 viewsThe shield of Zelda 1. The magical shield is just a larger shield.
Manual official artwork was the reference in drawing this.DBoyWheeler
|
|
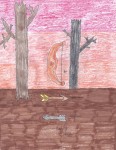
LoZ1--Bow_and_Arrows.jpgLoZ1 Bow and Arrows376 viewsThe bow and two arrows from Zelda 1.
I used the art from the manual as the reference for this.DBoyWheeler
|
|
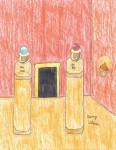
LoZ1--Blue_Ring_and_Red_Ring.jpgLoZ1 Rings375 viewsThe blue and red rings from Zelda 1.
I used the manual's artwork for reference.DBoyWheeler
|
|
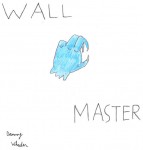
LoZ1--Wall_Master.jpgLoZ1 Wall Master373 viewsThe annoying Wall Master from Zelda 1.
I used the manual artwork as a reference, but left out the warts/bumps/whatever, since I was a wee bit lazy.DBoyWheeler
|
|
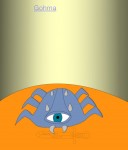
LoZ1--Gohma.jpgLoZ1 Gohma372 viewsThe giant spider crab of DOOM! Get that bow and arrow ready!
I used the official art in the manual as the reference here.DBoyWheeler
|
|
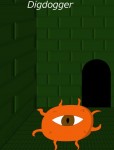
LoZ1--Digdogger.jpgLoZ1 Digdogger370 viewsThe giant urchin, Digdogger. Maybe it's in the middle of shrinking after hearing Link's whistle.
I used a mix of the main art in the manual, and the sprite, as reference here. And I had trouble getting the side wall to look right. Can't win 'em all, I suppose.DBoyWheeler
|
|
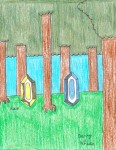
LoZ1--Rubies.jpgLoZ1 Rubies370 viewsBefore we Westerners called them Rupees, we knew them as Rubies in Zelda 1.
I used the manual's art as a reference.DBoyWheeler
|
|
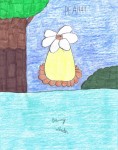
LoZ1--Peahat.jpgLoZ1 Peahat368 viewsThe Peahat from Zelda 1.
I tried to draw it as it looked in the manual art.DBoyWheeler
|
|
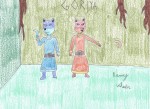
LoZ1--Goriya.jpgLoZ1--Goriya367 viewsThe boomerang-throwing weasels of DOOM! (from Zelda 1, of course).
I used the manual art as a reference, and drew two Goriyas since there were two colors for them.DBoyWheeler
|
|
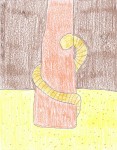
LoZ1--Moldorm.jpgLoZ1 Moldorm367 viewsThe giant earthworm from Zelda 1.
I tried to draw it as it appeared in the manual art of Zelda 1 (as opposed to how hit appeared in game), and had it climb a cave column.DBoyWheeler
|
|
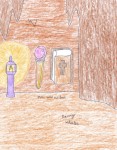
LoZ1--Magic_Wand_and_Book.jpgLoZ1 Magic Wand and Magic Book366 viewsThe wand of Wizzrobe and the Magic Book from Zelda 1.
I used the manual art as reference.DBoyWheeler
|
|
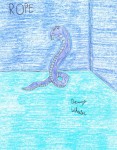
LoZ1--Rope.jpgLoZ1 Rope365 viewsThe poisonous snake Rope (as he appeared in the manual--I used the manual art as reference) in Zelda 1 (I know in the game, he looks like a cobra, but I drew how he appeared in the manual art).DBoyWheeler
|
|
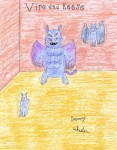
LoZ1--Vire_and_Keese.jpgLoZ1 Vire and Keese364 viewsVire and two Keeses from Zelda 1.
I used the manual art as reference.DBoyWheeler
|
|
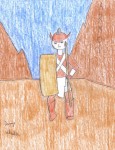
LoZ1--Armos.jpgLoZ1 Armos362 viewsArmos from Zelda 1.
I used the manual art as a reference, and used a little bit of artistic license to make him look semi-human (as opposed to his cyclops-ish look in the sprite).DBoyWheeler
|
|
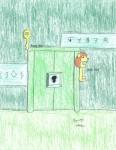
LoZ1--Keys.jpgLoZ1 Keys361 viewsThe regular Key and the Magical Key, from Zelda 1.
Manual's official artwork was the reference for this.DBoyWheeler
|
|
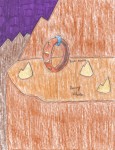
LoZ1--Power_Bracelet.jpgLoZ1 Power Bracelet361 viewsThe strength-enhancing Power Bracelet from Zelda 1.
The artwork from the manual was the reference in drawing this.DBoyWheeler
|
|
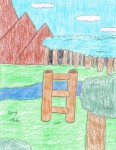
LoZ1--Ladder.jpgLoZ1 Ladder360 viewsThe Ladder from Zelda 1.
The manual artwork was the reference for drawing this.DBoyWheeler
|
|
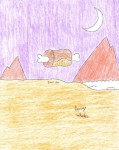
LoZ1--Enemy_Bait.jpgLoZ1 Enemy Bait358 viewsEnemy Bait from the first Zelda game.
The manual art was my reference.DBoyWheeler
|
|
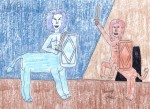
LoZ1--Lynels.jpgLoZ1 Lynels358 viewsThe two colors of Lynels in Zelda 1. I used the manual art as reference, and drew two Lynels since there were two colors of them.DBoyWheeler
|
|
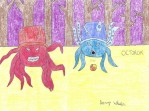
LoZ1--Octoroks.jpgLoZ1 Octoroks357 viewsThe two kinds of Octoroks from Zelda 1.
I used the manual art as reference, and drew two since the game had two colors for Octorok.DBoyWheeler
|
|
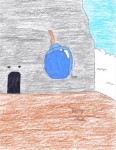
LoZ1--Bomb.jpgLoZ1 Bomb356 viewsThe bomb from Zelda 1. Which became more or less a staple in future Zelda games.
The official art in the manual was what I used as reference.DBoyWheeler
|
|
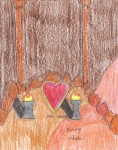
LoZ1--Heart_Container.jpgLoZ1 Heart Container356 viewsThe heart container that increases Link's life in Zelda 1.
Manual official artwork was used as reference.DBoyWheeler
|
|

LoZ1--Wooden_and_Magical_Boomerangs.jpgLoZ1 Boomerangs356 viewsThe Wooden and Magical Boomerangs from Zelda 1.
I used the official manual art as reference.DBoyWheeler
|
|
|
|
 Register